The settings and functions within applications WebCollab
When the user is entering WebCollab he recieves the following request:
How do you want to join the meeting (Figure 6)?
- With the microphone - to be able to discuss and been involved in the conversation (1), or
- only as a listener - where you do not have the ability to talk, but only to listen (2).

Figure 6. WebCollab request
If the user selects option 2, WebCollab starts with no additional setup. If the user selects option 1, the setup process will continue in the following steps:
If users use Google Chrome:
Permission for use of the microphone (Figure 7). Where users allow WebCollab to use microphone that uses a computer with Allow button.

Figure 7. WebCollab dozvola za mikrofon GOOGLE CHROME
By allowing the microphone WebCollab launches audio test where the user after completion of the test should hear a sound when pronounced some words. If the user hears a sound, he needs to confirm by clicking on yes (Figure 8).

Figure 8. WebCollab AUDIO TEST
After that WebCollab platform has successfully launched and the user can use its functionality.
If the user is using Mozilla Firefox:
In Mozilla Firefox browser is the same approach as with Google Chrome, initially selected microphone or audio only, then talking and listening or just listening to the meeting.
The choice of microphone options leads to settings that are shown in the following figure (Figure 9).
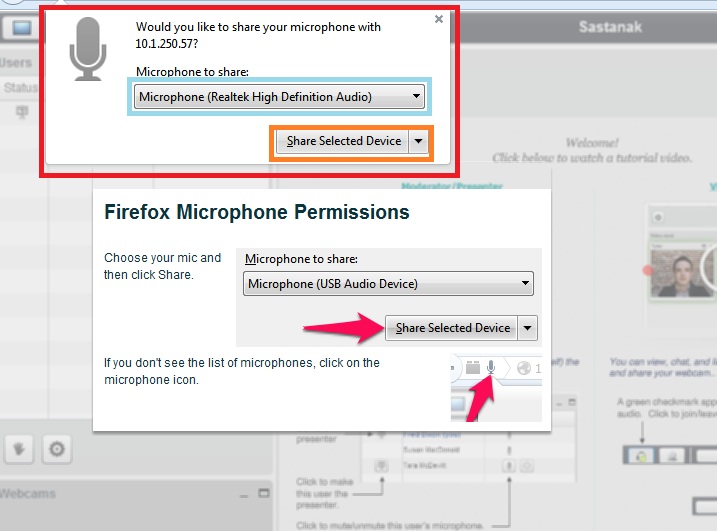
Figure 9. WebCollab licenses microphone Mozilla Firefox
In the field, which is marked in red, you can see two fields:
- Field to select the microphone - blue square,
- A button to use (share) of the selected microphone - orange square.
When a user chooses to use the microphone and left-clicking on the confirmation button for sharing (share selected device) begins AUDIO TEST, as well as with the Google Chrome browser. If the audio test successfully executed WebCollab application is ready for operation.
2. Options in WebCollab application
The following figure shows the default interface or application layout WebCollab (Figure 10).
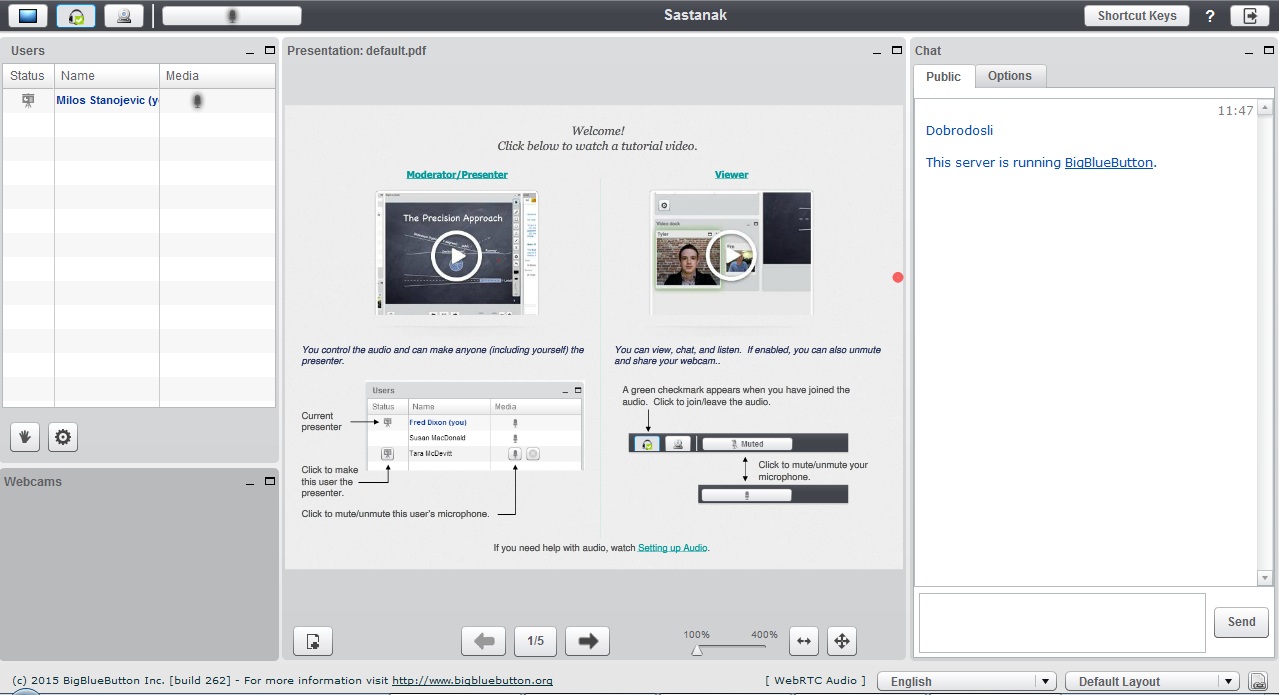
Figure 10. WebCollab default appearance
With pictures we can see that the WebCollab consists of four windows:
- User List - located on the left,
- Web cameras - shows all the webcams that are involved, which is below the list of users,
- Presentation - windows for presentation is in the middle and it is used to display PDF, Microsoft Word, Microsoft Excel, Image and PowerPoint (PPT presentation without multimedia support ("easier" PPT presentations), as well as proposals for a solution to the "more" PPT contents of the conversion PPT to PDF)
- Chat window - is located in the right part of the application and is used for correspondence.
In addition to these windows we can see the menu in the upper left corner, where you can turn on the camera, share a computer screen, stop and activate the microphone, mutate and unmute microphone. In the lower right corner you can see options for changing the appearance WebCollab presentation, which will be discussed in a forth below, and the language menu.
For ease of reviewing all the possibilities and ways of working with them, are described in the subsections.
2.1. Turning the camera
To turn on the camera user has left clicking on the icon with a camera in the top left corner (Figure 11).

Figure 11. A camera icon for WebCollab
Clicking on the icon opens a new menu where WebCollab seek permission from the user to use the camera (Figure 12).
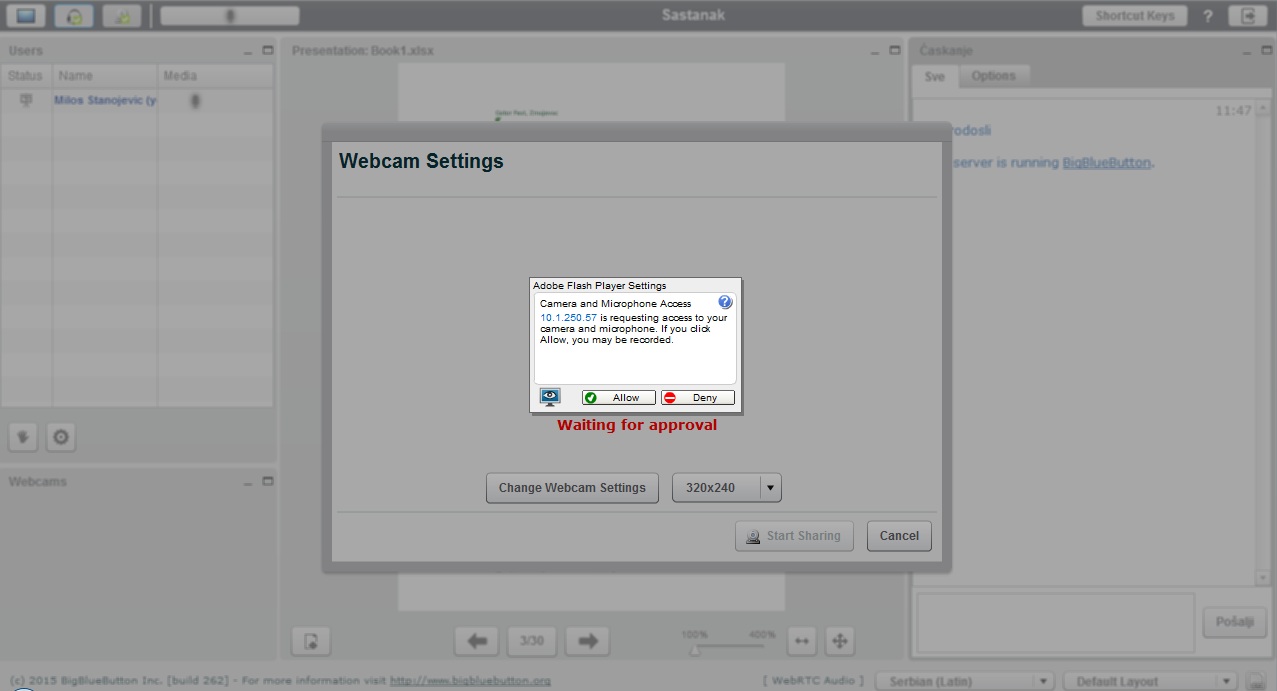
Figure 12. WebCollab request for permission to use cameras
The approval by clicking on the permit (allow) opens a window with settings for the camera where the user adjusts the window size of the camera and internal camera settings (Figure 13).
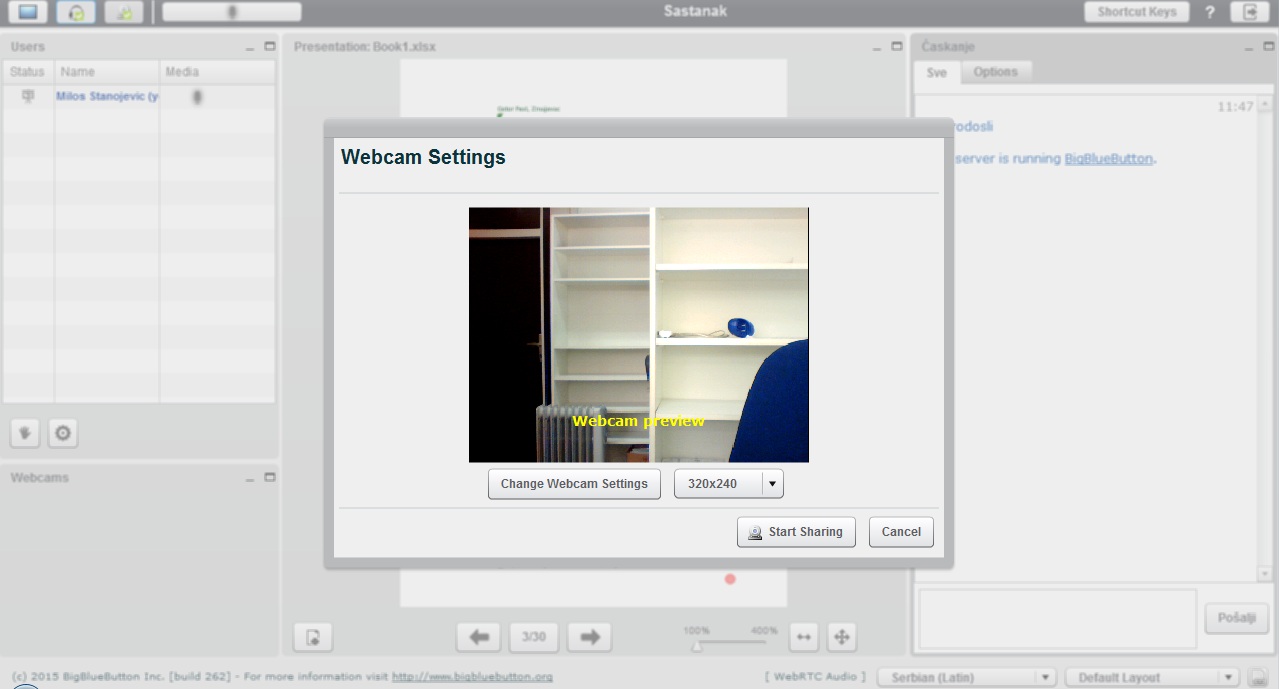
Figure 13. WebCollab camera settings
Click to start sharing users share the camera with the other participants in the meeting. Web camera after switching can be seen in the window of a web camera on the left side below the windows users (Figure 14). Also, the icon for the camera will have a specific green character that is active.

Figure 14. Preview video camera in the window for Webcams
2.2. Sharing your computer screen (Screen Share)
In the same menu where the camera can see icons for screen sharing (Figure 15).

Figure 15. Icon Share Screen
Only user who has moderator privileges can share screen. The moderator can give another user the privilege to be able to share screen. The users who are guests, dont have moderator privileges, they dont see the icon for share-screen. In WebCollab can be only one MODERATOR!
Administrator can assign and restore their privileges between users. This is done by clicking on the icon next to the names of users in the window for users (Figure 16).
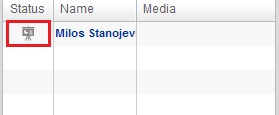
Figure 16. Icon for changing moderator
In the window there are two buttons users that are located below the list of users. The first button (the hand) is used to indicate that users wants to say something. The second button represents adjustments and the moderator only can see that button (Figure 17).
 Figure 17. Button "Hand" and "Settings"
There can mutate all participants, go down all the "raised hand", and lock for the participants of the following items:
- Webcam - web camera,
- Microphone - Microphone,
- Public chat - the ability to chat,
- Private chat - possibility of private chat,
- Layout - Select the layout.
2.3. Window display
As noted, the window for the presentation is in the middle, and served to users through its presentation materials it easier to present the meeting. This is the same case as you're splitting the screen, solely moderator can insert material and make presentations. Another note is that the moderators can change that, if you're not a moderator you can't perform a presentation (Adding privileges to in the preceding section).
Throw presentation material (PDF, WORD, EXCEL, FILE) done on the add file button located in the lower menu handling with the presentation (Figure 18).

Figure 18 Button to add a new material for presentation
Clicking on the button opens a new window (Figure 19) where the user can add one or more material for the presentation and choose which of the added material is currently being displayed.

Figure 19. Appearance window for inserting documents for presentation
With pictures you can see the fields marked with a specific color that represents the following:
- Blue - the choice for document presentation,
- Orange color - inserting the document in WebCollab where after inserting it into the lower part of the window displays the document,
- Yellow color - displays the Preview button to display a particular document in the presenter window,
- Green color - displays a button to remove the document from WebCollab's.
When the user chooses a document and clicks the Preview button, WebCollab automatically leads back and displays certain selected document in the middle, in the Presentation window.
The user can use the extra menu presentation material to the right of the materials for the presentation line and writes text, shapes, to enchant the presentation (Figure 20).

Figure 20. The demonstration WebCollab editor of the materials
2.4. Space for instant messaging - Chat
Space to chat on the right side and is used for correspondence users. In the writing, which is located next to the Send button, enter the desired text (Figure 21).

Figure 21. Window for chat
Users can chat privately with a specific participant in the meeting. This can be done in the Options tab, which selects the participants. In addition to the private chats in the same card can also change the typeface (Figure 22).

Figure 22. The Setup window
2.5. Different prospects meetings - Layouts
WebCollab has the ability to adapt its appearance depending on the type of meeting. It can be done in the menu located in the lower right corner (Figure 23).

Figure 23. WebCollab layouts
There are the following prospects:
- Default Layout - typical appearance WebCollab -a
- Video Chat - layout suitable for video chat, you can see just a video camera,
- Webcam Meeting - appearance is also suitable for video chatting, just as besides the camera can see and chat window and display that are smaller,
- Presentation Meeting - layout suitable for document presentation, similar to Webcam Meeting, only the foreground window presentations,
- Lecture Assistant - look similar to Default Layout only what is in the forefront of the chat window,
- Lecture - layout suitable for presentation, only the present window presentation
Moderator has the ability to everyone at once by clicking the button located to the right of the menu to select the layout, shares the same appearance as himself. Button shown in FIG 23rd 
3. Restrictions
3.1. Minimum requirements for the client
- A browser that supports Flash 11.2 version, it is recommended always the latest version of Flash technology.
- To pokenuli ShareScreen or screen sharing is required to have installed Java runtime. The checking is done on Java test page.
- The recommended internet speed is 1 Mbit / s download and 0.5 Mbit / s upload.
- The recommended hardware - dual core processor and a minimum of 2 GB of RAM.
Info Management d.o.o.
Igor Grgur, direktor
Mob: +381 63 652 725
E-mail: This email address is being protected from spambots. You need JavaScript enabled to view it.